USB PC UPGRADE
1. Blank Flash Upgrade
1.1. Usage Scenarios And Principles
There is nothing in norflash or nandfash, please use pcb's usb to connect pc, download uboot to memory, execute uboot and pc software to interact to complete the download and upgrade.
1.2. Requirement
u-boot.bin for booting, image and pc tool for upgrade.
1.3. Image
Refer to Environment setup to build image:project/image/output/images.
1.4. BOOT
Enable the following options.
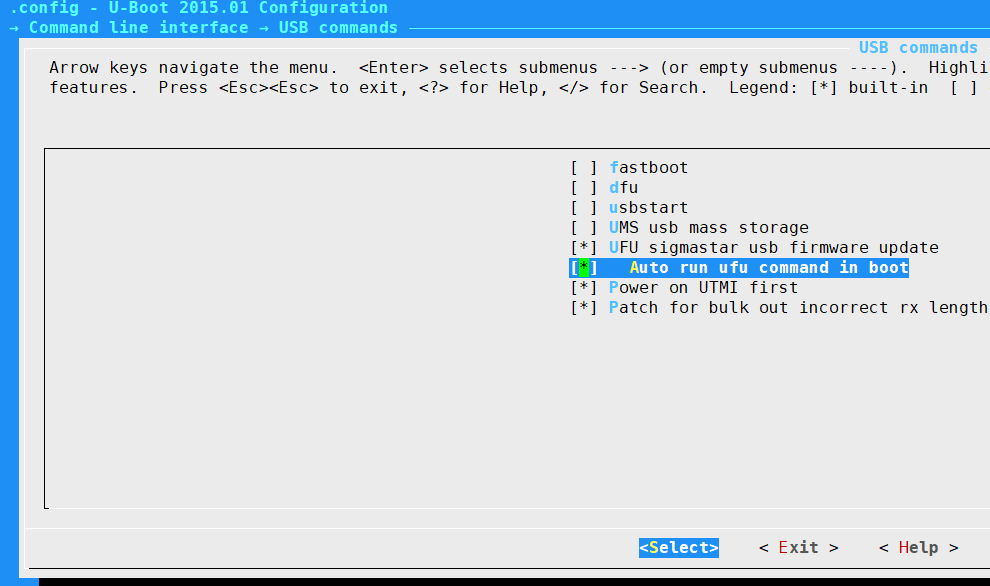
Rename the generated u-boot_spinand.img.bin or u-boot.img.bin to u-boot.bin (only for blank boot). This file will be used in the following steps.
1.5. Pc Tool
1.6. Steps
Take norflash as an example:
-
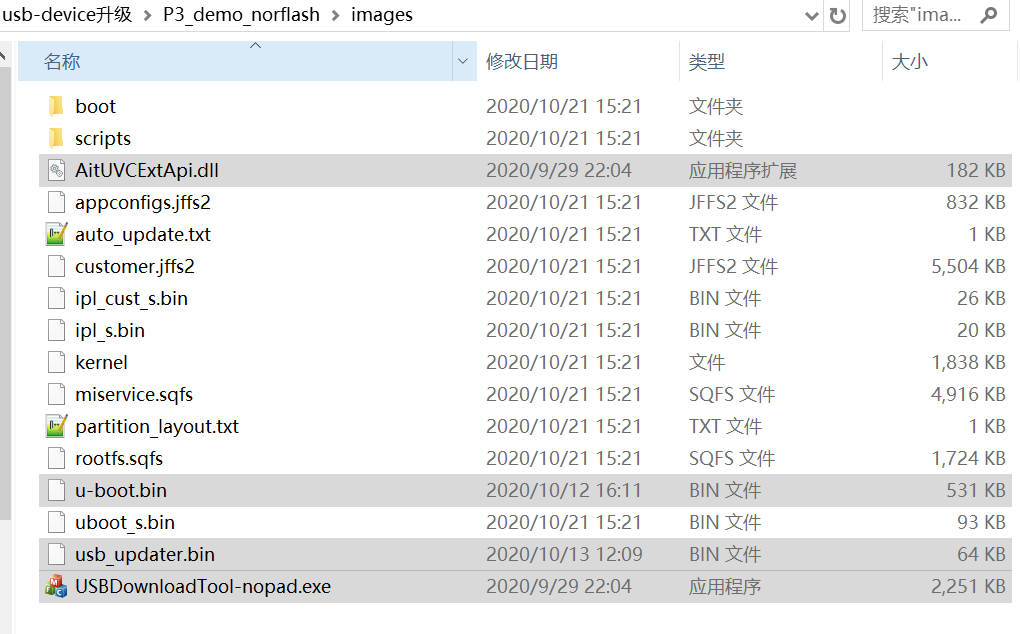
release pc tool to images
-
release u-boot.bin
Replace the booting
u-boot.binhere.
-
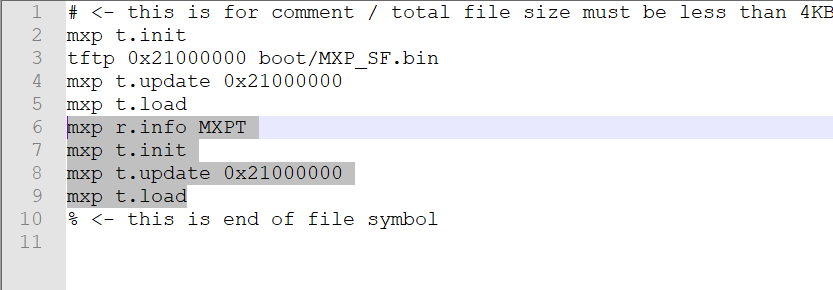
Some versions need to add images upgrade script (please ignore this step, if you use nandflash)
Add the following script in
images\scripts\[[mxp.sf probe 0 mxp r.info MXPT sf erase $(sf_part_start) $(sf_part_size) sf write 0x21000000 $(sf_part_start) $(filesize)

If there are similar codes as follows in the version, you don't need to add it.
-
Connect to the pc by usb, power on, and execute
USBDownloadTool-nopad.exe.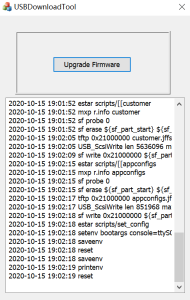
2. USB-PC Upgrade In UBOOT
Norflash or nandfash already has uboot, and UBOOT supports PC to upgrade in device mode, execute uboot and pc software to interact to complete the download and upgrade.
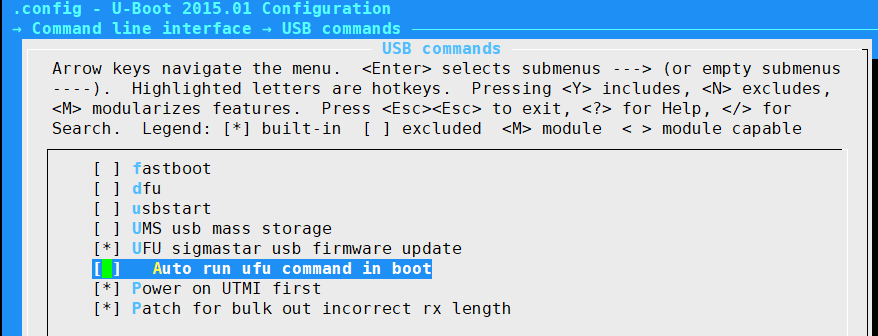
This uboot supports ufu upgrade by default, but it does not run automatically.
Set the following parameters in boot, and you can enter the device upgrade mode after booting.
setenv ota_upgrade_status 1

saveenv